

How To Create A Halftone Image Photoshop
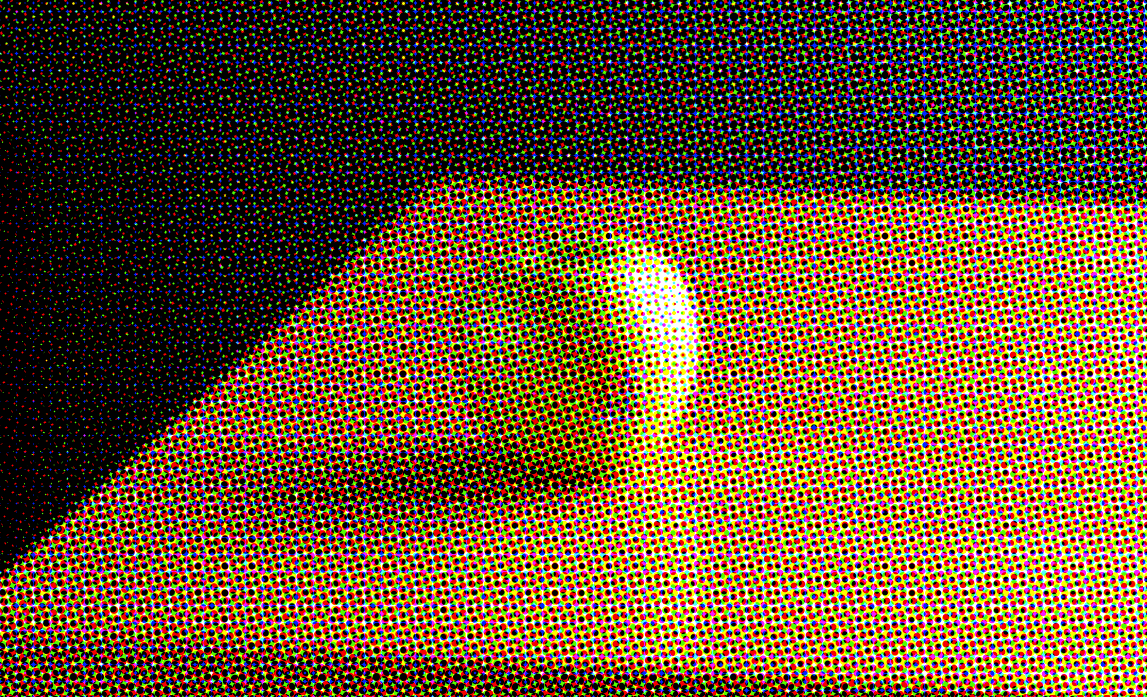
If you've ever seen a shut-up of an old newspaper or print advertizement, y'all've probably noticed that the images aren't exactly every bit they appear. Instead of a smoothen, continuous tone, you'll detect a dense and infinitesimal assortment of dots. This isn't quite pointillism, but a technique known every bit halftone.
Halftone is the fine art of mimicking gradual shifts in tone with discrete units of ink. In shadowy areas, the dots may exist huge and clustered closely together. In brighter areas, they will be more diffuse, selectively placed to infer detail.
Achieving a halftone outcome in Photoshop is quick and easy. In this explainer, we'll show you how to aqueduct your own inner Lichtenstein.
What Is Halftone?
Halftone is a photomechanical way of representing a continuous progression of values, using merely one solid tone.
In print media, this is traditionally accomplished by laying down dots of ink on newspaper in varying sizes and positions. It'due south an illusion, relying primarily on optical bleeding to make the intended impression on the human eye. These dots human activity a fleck like analog "pixels", culminating in a recognizable image.
Retrieve about a tiny, pixelated photo. Diddled up huge, you'll notice that in that location is some particular missing. If you zoom back out far plenty, though, the picture looks more than and more like itself as information technology gets smaller on-screen.
Binary halftone just requires one type of ink: blackness ink. If your halftone image is in color, you'll also exist dealing with 3 channels of chrominance, in pixel-dot form: magenta, yellowish, and cyan.
How to Create a Halftone Effect in Photoshop
"Halftoning" may refer to either the conversion of an epitome to halftone dots or the physical halftone printing process itself. To be clear, this walkthrough refers to the former, in a digital context.
Using a Filter
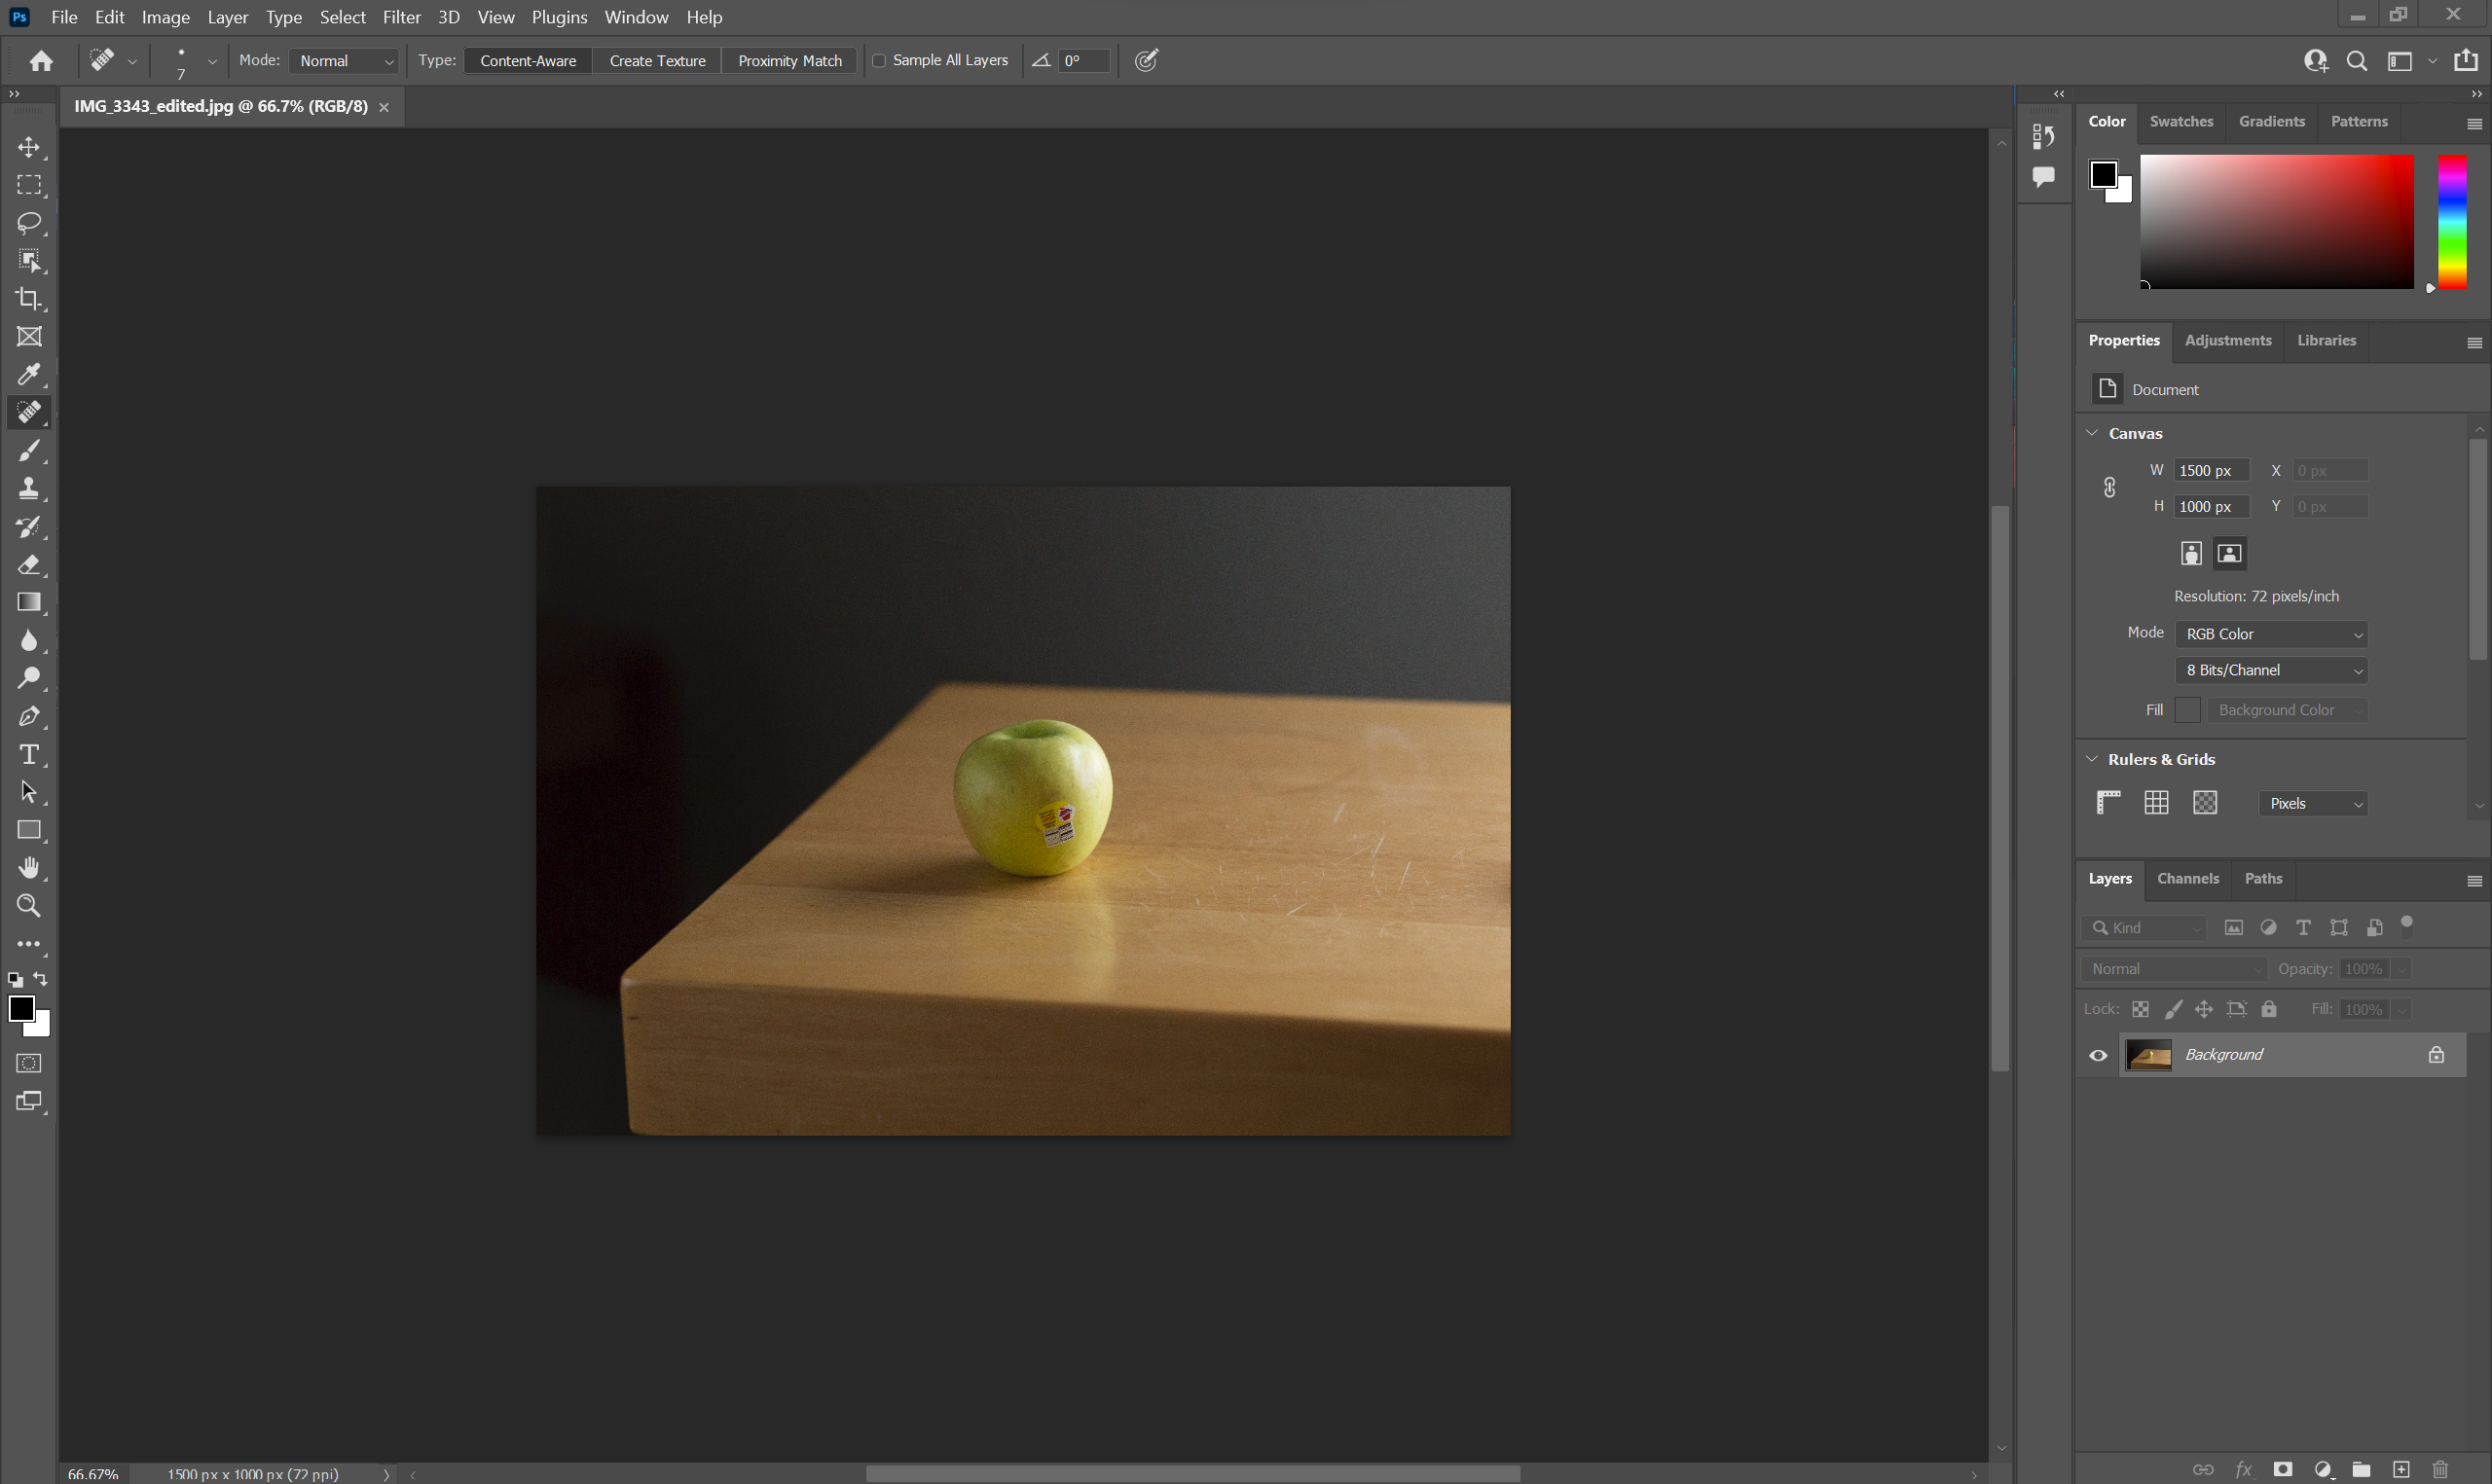
The easiest fashion to catechumen an paradigm to halftone in Photoshop is with a filter. First, burn down upwards Photoshop and load in your prototype.
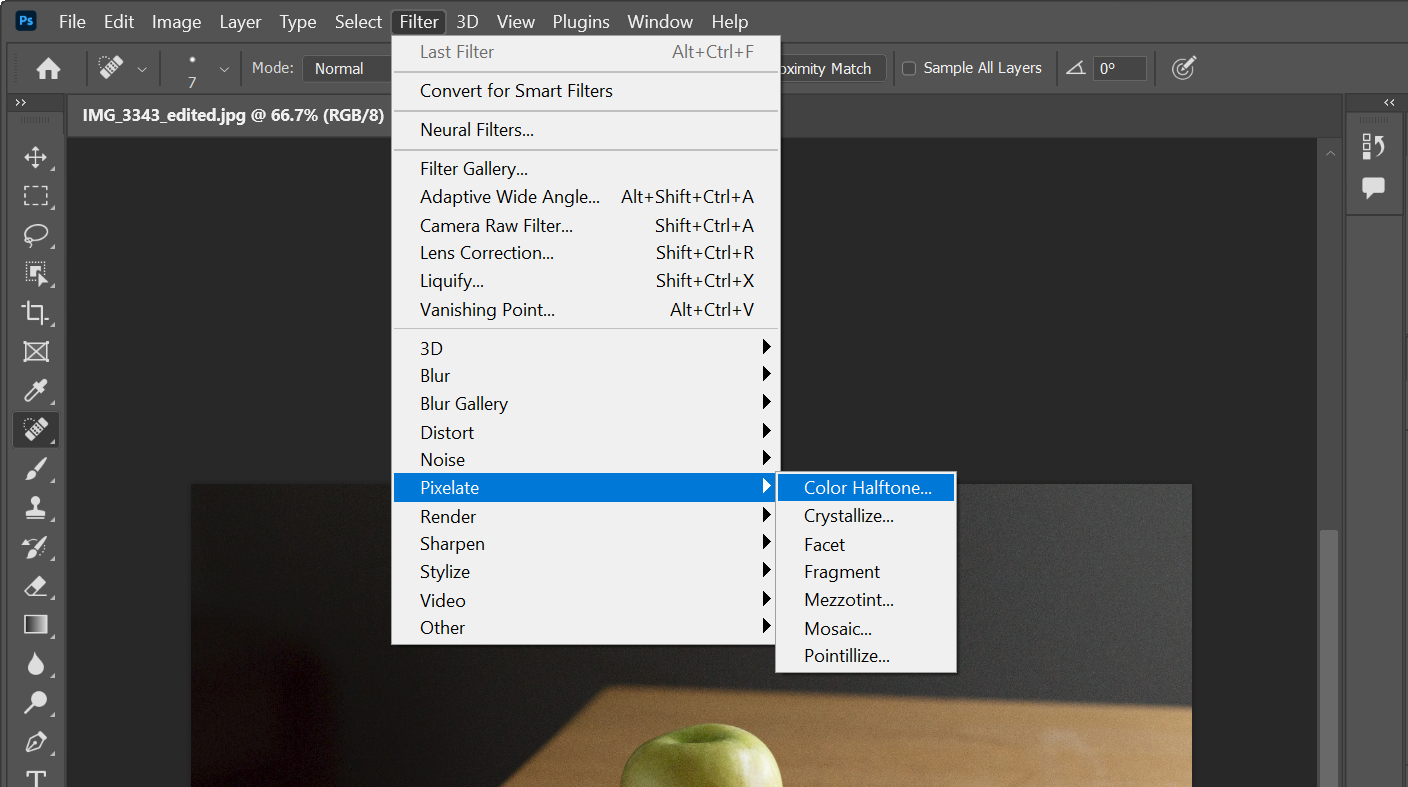
From the Filter menu, open up Pixelate, and then select the Color Halftone option.
From here, you lot can adjust the Radius of each halftone dot, also as the Screen Angle of each color channel.
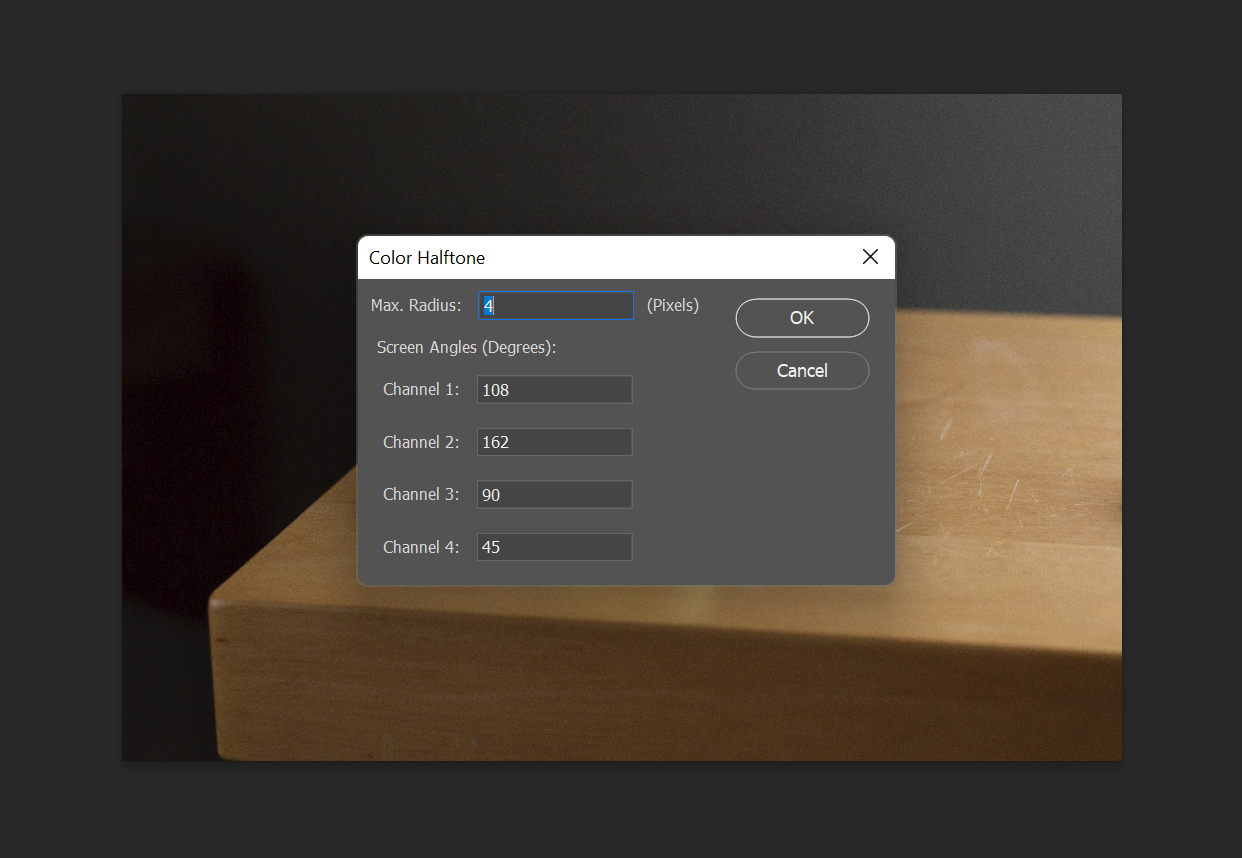
This is where you tin can control how prominently each color channel volition exist start from the other three components.
Bully. Now, your image should expect like this. If information technology'due south non quite what y'all're going for, give information technology a Ctrl/Cmd + Z (to disengage) and endeavour applying the filter again with a few tweaks.
Changing an Image'southward Color Mode
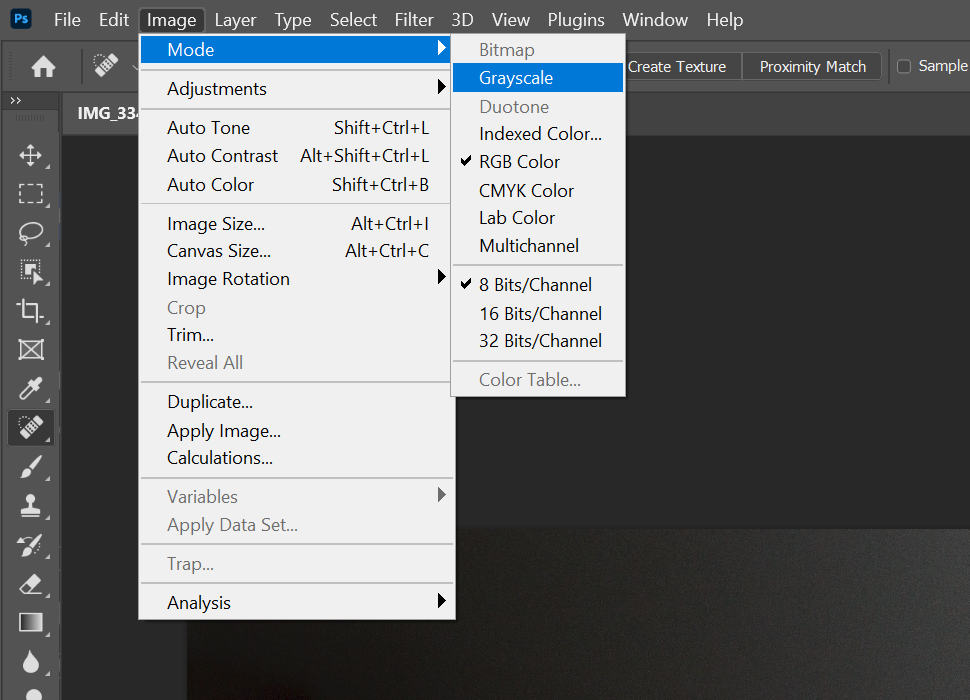
Another way of applying halftone is by converting an image using color mode options. From the Image bill of fare, navigate to Way and select Grayscale.
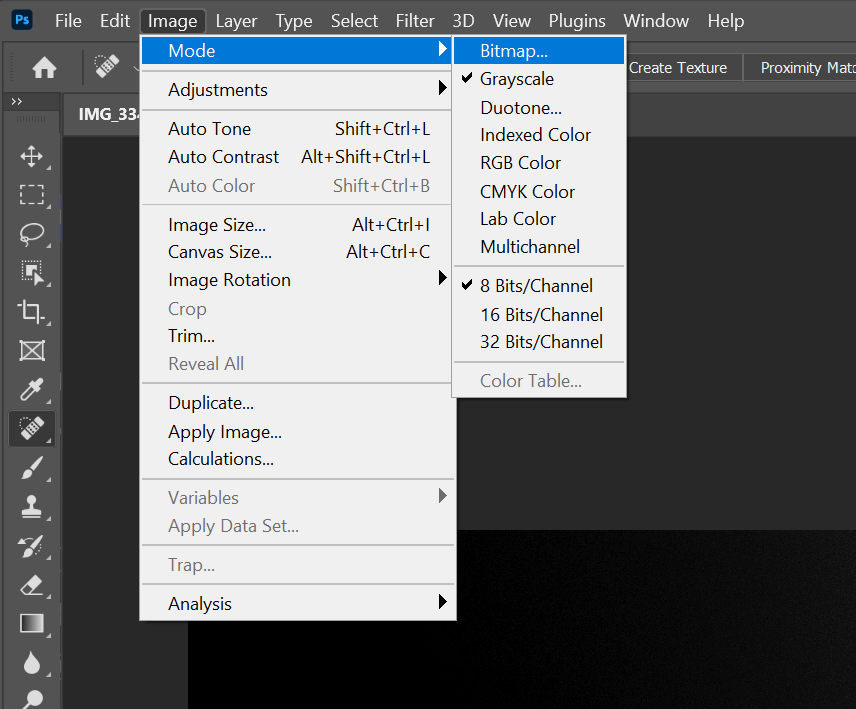
After doing then, open the Epitome menu once more, navigate to Mode, and select the Bitmap... option.
In the dialog box that follows, choose Halftone Screen... under the Method dropdown.
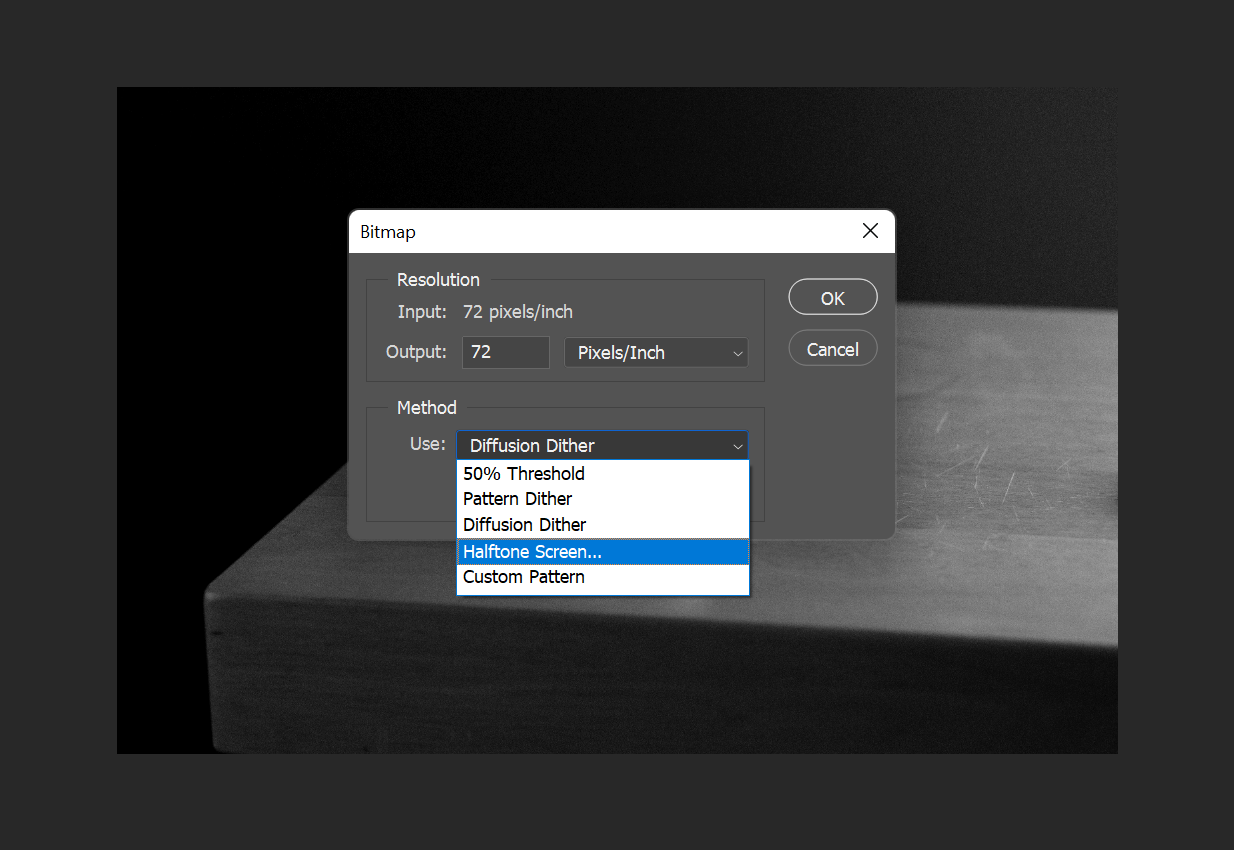
From here, you can adjust as you did before. Frequency will determine how big your halftone dots are at their maximum diameter. Angle will modify the direction that the dots are running in.
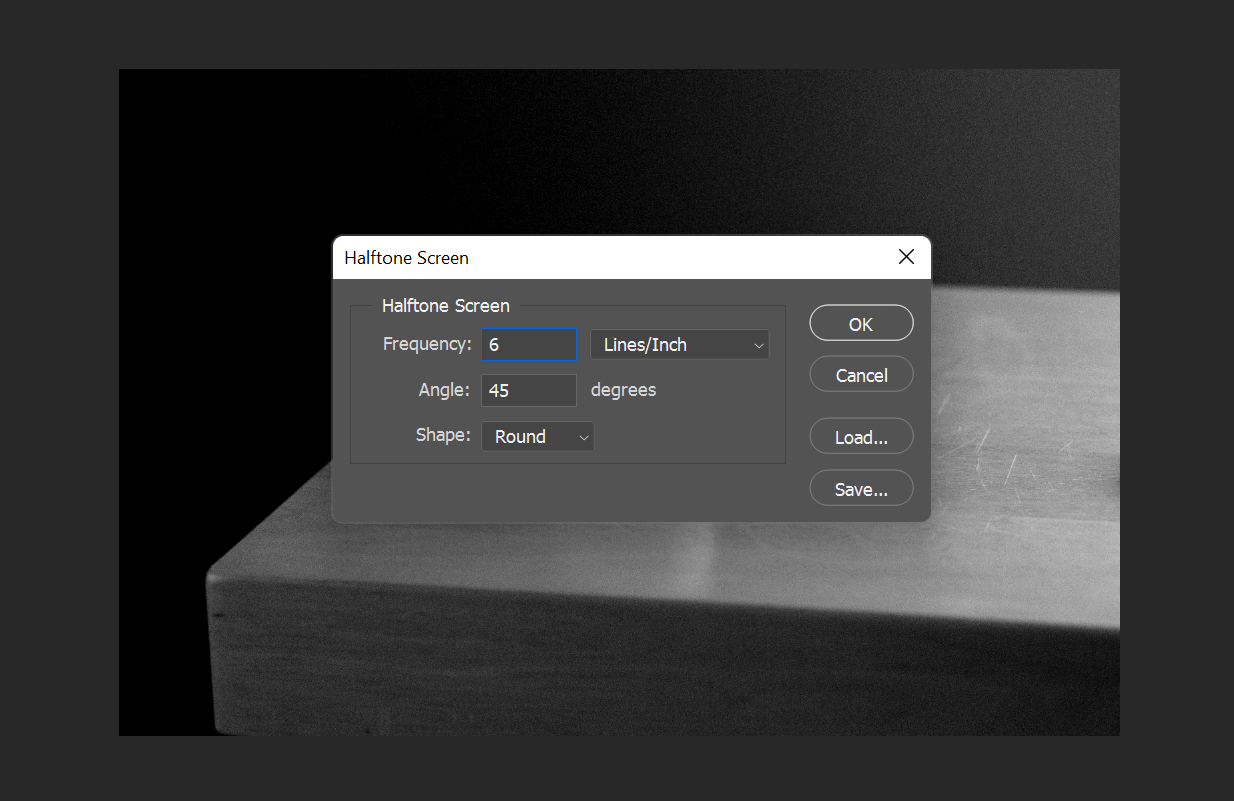
This method is awesome considering it inverts the dots, rather than just making them bigger or smaller.
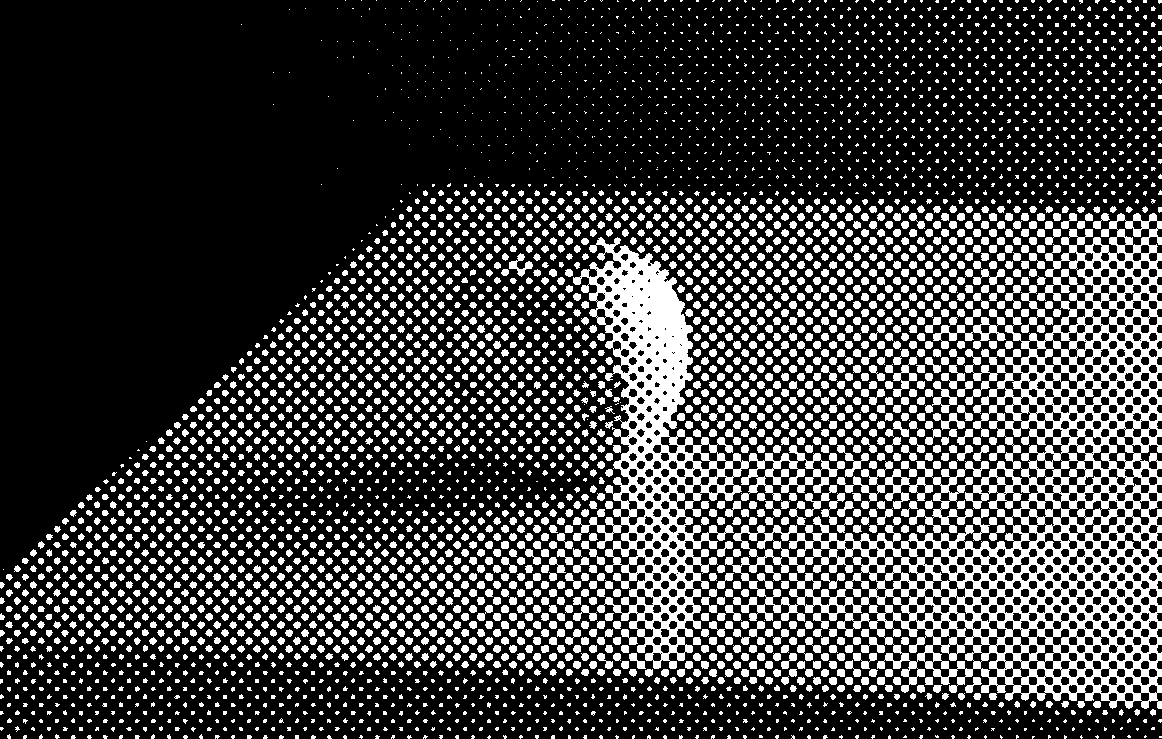
Substantially, this means that the darker parts of the image won't just consist of huge blackness dots that are very shut together. Instead, the tables plow: your halftone transitions gradually into a solid black field of "ink", expressing tonality with holes of white "substrate" peeking through.
1 annotation to brand is that this second approach only works for binary halftone. If your desired image contains color, the filter method that nosotros presented first will exist your all-time bet, short of mapping out and drafting each dot manually. Nosotros wish you luck.
Get the Await: Halftone in Photoshop
Both halftone effects presented here vary significantly. There are and so many means to spin this classic, retro photo effect for your own projects. Try experimenting with each approach the next fourth dimension you need to add a dose of funky, graphic involvement to a layout or presentation.
About The Author
Source: https://www.makeuseof.com/halftone-effect-in-photoshop/
Posted by: marksthicess.blogspot.com
0 Response to "How To Create A Halftone Image Photoshop"
Post a Comment